How to make Filipino Garlic Fried Rice (Sinangag)
If you have day-old rice, don’t just microwave it — make it into Sinangag!
Sinangag (not be confused with Sinigang) means fried rice in Tagalog, so it is, essentially, garlic fried rice. I think what makes Filipino fried rice so special is the sangag process. In Tagalog, sangag loosely means to toast/roast/fry. So, in respect to sinangag, the key is to actually toast/roast/fry or maillard (brown) the rice with garlic. At its core, Sinangag is just garlic, rice, oil, salt and pepper - but I usually like to add a lil extra, especially eggs.
I only make sinangag with day-old rice because fresh rice might make your dish clumpy and soggy. Using old rice soaks up all your seasoning’s flavours and gives the fried rice a great texture! Serving size depends on how much leftover rice you have and the veggies you add.

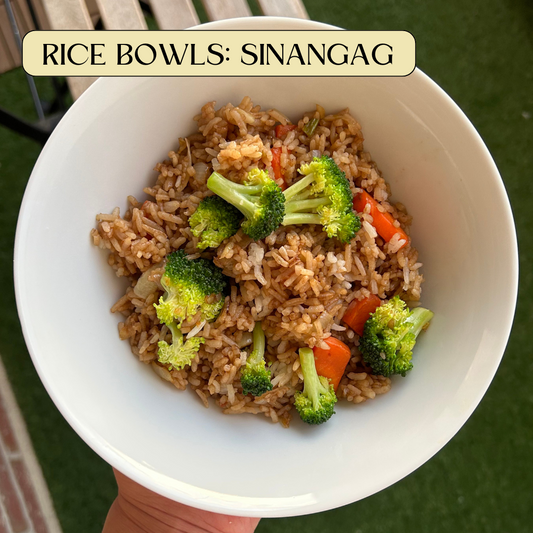
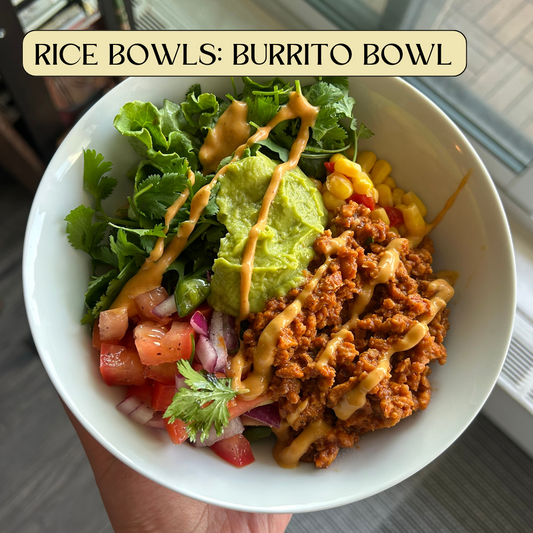
The last (and very delayed) installation of my blog miniseries on Rice Bowls will be on Sinangag, or a Filipino-styled garlic fried rice. To see the other rice bowls in this mini series, click here to see the recipe for Bibimbap, and here to see the recipe for Burrito Bowls.
Elevate the same-old bowl of white rice with some Filipino Garlic Fried Rice.
Recipe for Sinangag, Filipino Garlic Fried Rice
Ingredients
- Day old rice (that’s hopefully been refrigerated)
- Garlic, finely minced (if it’s one serving of rice, I would prepare 4-5 cloves of garlic, any more… half a bulb or a full bulb, depending how much you like garlic)
- Onion, chopped (optional)
- Oil as needed
- Soy sauce
- Dried chilli flakes (optional)
- Green onion or chives (optional)

Directions
- Heat up a well-oiled pan on medium heat
- Once the oil is hot, sautee your garlic, onions, and chilli flakes
- Toss in your rice into the pan, making sure to separate any clumps of rice. Tip: rinsing your hand with water, then separating the cold rice by hand before sprinkling it into the pan makes it easier to mix. Stir thoroughly
- Let your pan sit for a couple of minutes before adding soy sauce. Mix in a tablespoon of soy sauce at a time to avoid having your rice get too salty.
- Taste your rice, season if needed, then let sit for another 5-10 mins, stirring often
- Garnish with chives then serve on its own, with your fav protein, or top it off with your favourite additions!
Kain tayo!
What to eat with your Filipino Garlic Fried Rice
There's many things you can eat alongside your Sinangag — from veggies, to different proteins, the possibilities are endless!

You also don't have to limit what you put into your rice. It doesn't have to be just garlic (although it holds up on its own, regardless).
I like to throw in whatever I have in my fridge; and that usually includes broccoli, carrots, onions, eggs, and peas. My go-to toppings for my Sinangag includes a plant-based protein, an egg, and tomatoes.
However, the process might be a little different if you decide to incorporate more items into your Filipino Garlic Fried Rice. For instance, when I want to add veggies, my rice might take a couple minutes longer as I sautee the the veggies with the garlic, before throwing the rice. And adding protein with your rice will surely take longer, it just depends on your protein's cook time. But waiting is definitely worth it. No matter what you add into your rice, Sinangag will also be a delicious and fragrant comfort food that could easily be incorporate to your weekly meals.